
7.11.2011
Summer.
3.20.2011
Woman Cave.
Every man needs their own MAN space (aka the "MAN CAVE"). That grants that every woman needs their own "WOMAN CAVE", right? After looking at numerous home decor blogs, I've been so inspired and wanted to take on a project of my own....a small one, of course! My first attempt was to create a craft/work room using a former storage room (within our laundry room). This little nook would be a place where I can store all my crafty items (wrapping paper, ribbons, scrapbooking supplies, etc.). With just a little bit of fresh paint on the walls, furnishings and accessories, you will see the project unfold...
 |
| Laundry Room |
 |
| The soon to be "WOMAN CAVE" |
Oh how I love Craigslist!!! I have been searching for a small, basic wooden desk and one day stumbled upon this lovely desk...for a mere $25! For some, it may look like a ratty hunk of junk, but with just a little TLC, I saw potential! |

With just a little bit of sanding, a fresh coat of paint and a knob change, it felt brand new!
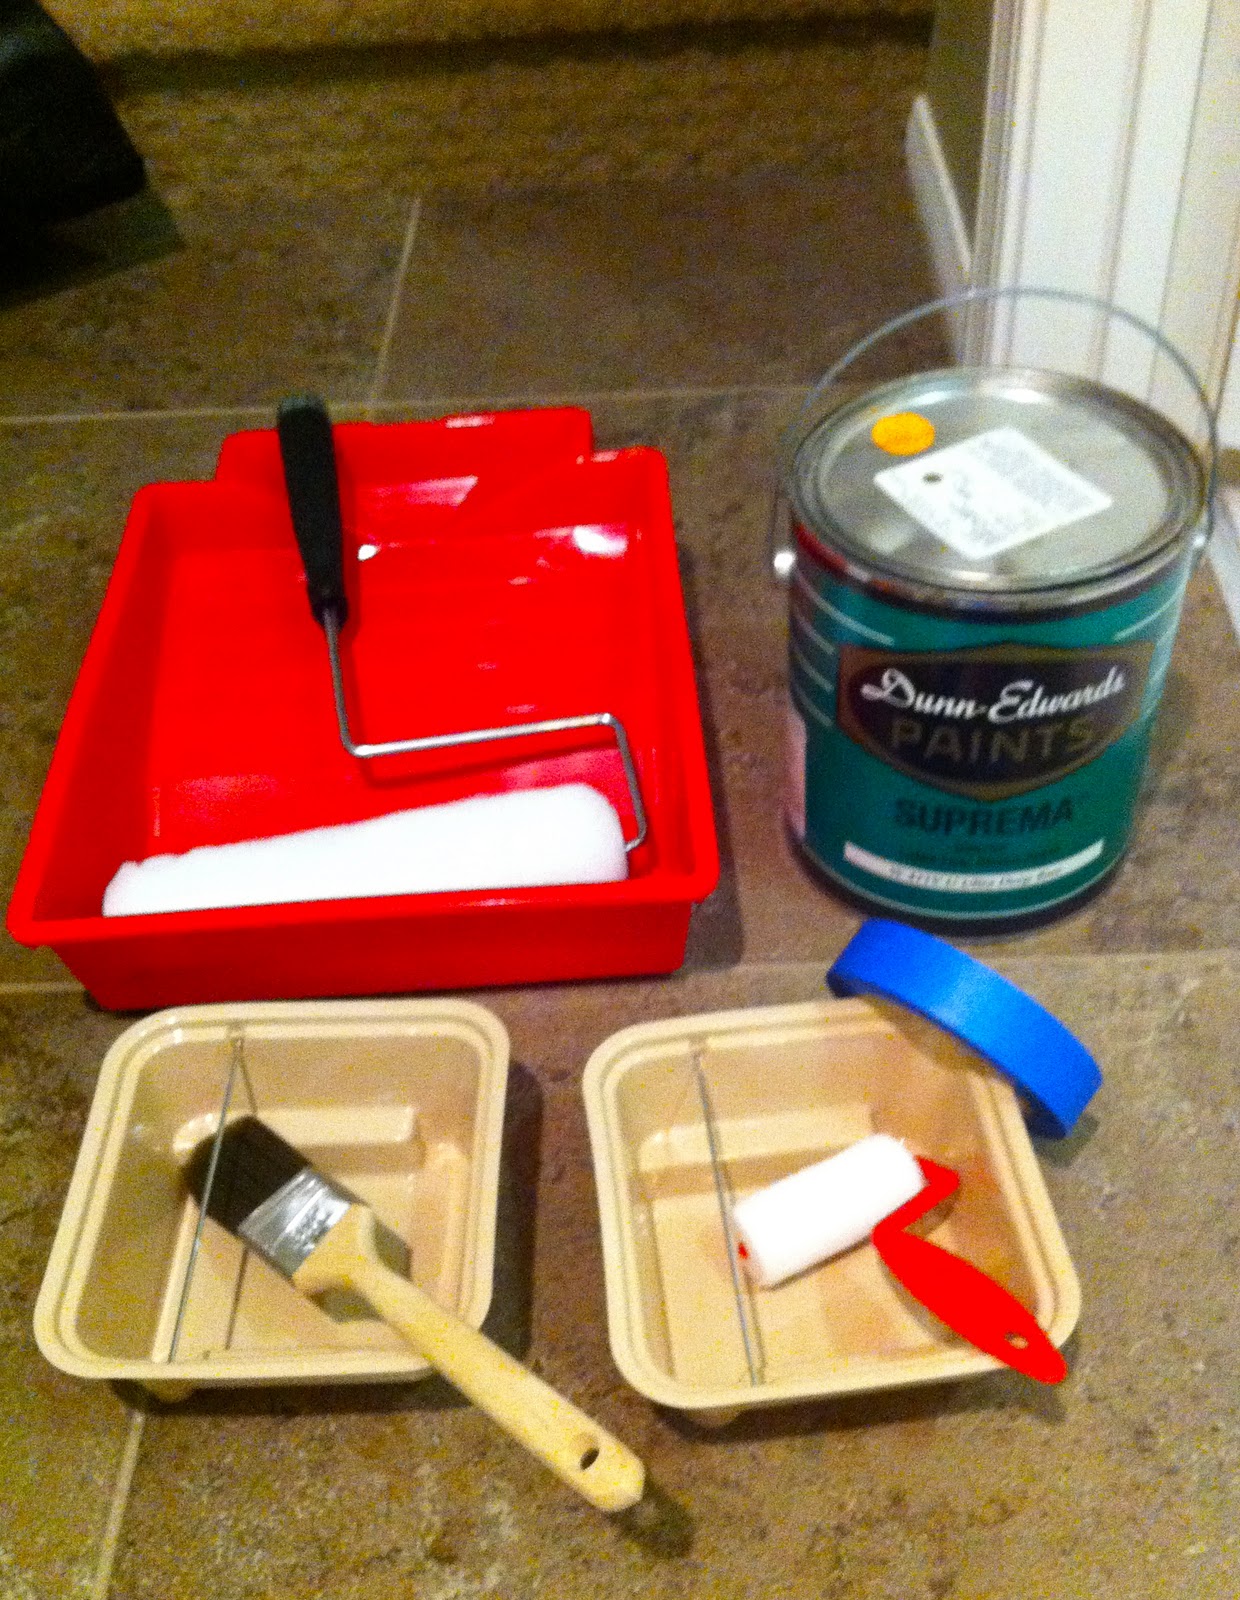
The base of the desk was painted with glossy white paint. The shelf was painted cherry red....just enough pop to make this room cheerful! The rusty knobs were easily replaced with mid-century inspired ones I purchased at a local hardware store.


On the RIGHT side of the room, I pulled together all the images from our engagement shoot (shot by Max Wanger). I hung everything with some twine I had. I also FINALLY found a home for the Paul Frank clock I purchased from the Paul Frank warehouse sale YEARS ago.


On the LEFT side of the room, I housed my Dee & Lala wood prints that I purchased from the Unique LA show last year. I have been searching for the right home for these two prints and was so excited when these finally went up on the wall. Below, I hung two red shelving units to place my Jeero Uglydolls and miscellaneous items.


Immediately under the red shelving unit, I hung up my Washi tape collection. For those that understand Washi tape knows that they need to be properly displayed. To be honest, I found it foolish to spend $40 for a washi tape dispenser. Instead, I came up with the solution of using a curtain rod that I purchased for a mere $5. I sorted the Washi tape by color, so as my collection grows, it'll soon be a rainbow of colors. The great thing about using this curtain rod was that it extends up to 40", so I don't foresee any issues with limited space. This is an affordable solution for those that have an ever-growing collection of Washi tape or perhaps wants to start one!


On the CENTER of the wall, I hung two shelving units. The red shelving unit houses books and photo albums, along with a trio of hat boxes (purchased from IKEA) filled with ribbons, bows and gift tags. The blue shelving unit was painted blue (originally a birch color) that I purchased for under $5. I LOVE IKEA for select items. This shelf was the perfect size for storing my glass bottles of rubber bands, pins and paper clips.


I utilized every square inch of this room, including the door. I purchased a contraption that allows you to store an iron and the ironing board. Iron not pictured below, but it is to be hung on top.

Within a matter of days, this neglected area of our house was transformed from a drab storage room to my own hidden "WOMAN CAVE". Check out the before and after:

I'm ready to begin my next project. I'd love to see what you've been doing around the house!
Subscribe to:
Posts (Atom)